|
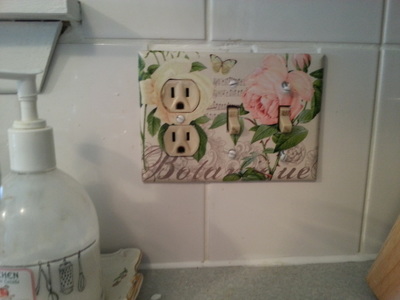
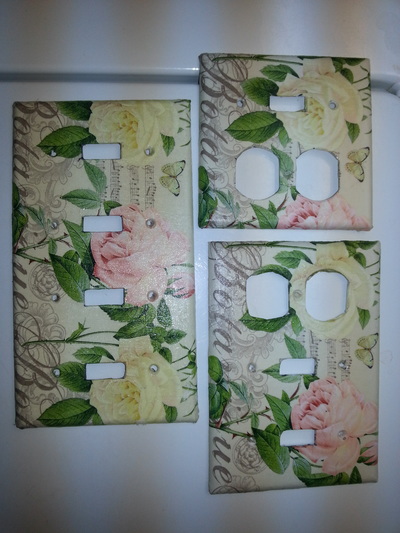
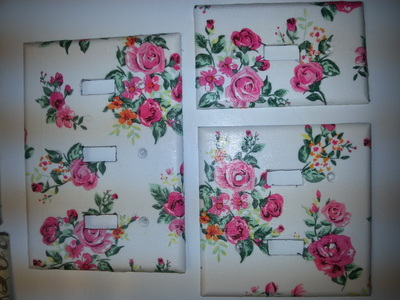
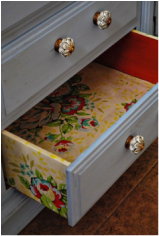
Yes, I am obsessed with roses!!.. Since I do not yet have a rose garden on my new property, I had to find a way to incorporate them subtly into my home. I added the yellow/pink rose switches to my kitchen. The vintage pink rose to front porch and front hallway. They really pop out against the cloud white paint colour and give it that #cottagestyle that I love so much. I did not paint the roses as I have done in the past, as I really loved the print on these napkins.... yes I said napkins!! Here are the steps: 1. Find a pattern that you like (small rose I found at Dollarstore, where I actually found a lot of pretty patterns.. the scripted rose I found at Bowrings... bit more pricey but for the $5 package of 16.. they make a big impact on a $1 switchplate) 2. You will need: -switchplate (SP) -paper napkin (or cardstock) -modge podge (MP) -sponge brush -saran/cling wrap -scissors / paint brush 3. Napkin: separate the layers (usually 2 white + top coloured print).. print layer a little patience required to separate 4. place napkin on SP, so that your desired pattern shows where you want it. 5. cut around SP at least 1/4" extra (you will want to fold it around to the backside) all around, and cut small notches in the centre hole. 6. using sponge brush, apply the MP on the SP. (not too much and not too little :) ) 7. carefully lay the napkin over the SP 8. lay the precut piece of cling wrap over the napkin...stretching it over the napkin to help smooth it out... carefully use your fingers to smooth out the wrinkles. ( the cling wrap prevents your fingers from getting sticky and tearing the delicate napkin). 9. Carefully fold over the excess napkins over the sides and secure on to the back. Fold your corners neatly. Add more MP to help glue it down. 9. Remove any excess MP with the "clean side" of the cling wrap. 10. Let dry (overnight.. or blow dry if in hurry) 11. Sponge another layer of MP all over. Of course, the possibilities are endless with pattern/colour/design... your kid's room with favourite characters... bathroom... hallway... and of course you can decoupage ANYTHING!!! Would love to see what you come up with! Happy decoupaging!! diane PS. I even did the side of my dresser drawers for a little peekaboo... will have to post pictures once I get back home... but here is the idea from Pinterest Here is a great video tutorial from a decoupage expert. Check out Pinterest as well for lots of creative uses for decoupage.
1 Comment
HAPPY NEW YEAR 2016!!
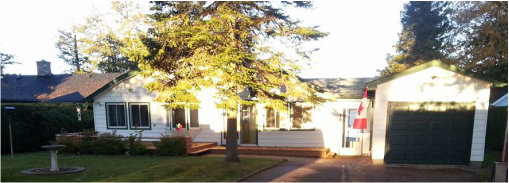
I know it has been quite awhile since I have posted here... it is almost a year since the last blog, yet the photo is still current of me on a beach in Costa Rica!!!!... No polar vortex for me. I did not paint a single rose last year... ok maybe one order. I guess I needed the break from painting small to pushing my limits to take on a big project!!.. So I got out my chalk paint and painted my new kitchen!!.. yes we have moved so now my paint room is in boxes in a tiny room and an outside storage shed... I had to purge a lot of items I have collected over 10 years that I was going to paint one day... guess someone else will get that chance now. Check out my new page "Home Decor - Before & After".. this is the journey of our new little "cottage on the lake". The old 50's cottage with 80's update got another facelift from us. Keep checking back as I post more B/A pics as we move along in our decorating.. of course not for a few months yet wink wink!! |
diane cooperI am a floral artist that loves to create in my home studio. I love pink rose, beaches, travelling!! Archives
May 2021
CategoriesMy favourite places: |



 RSS Feed

