Joyful Art Kits
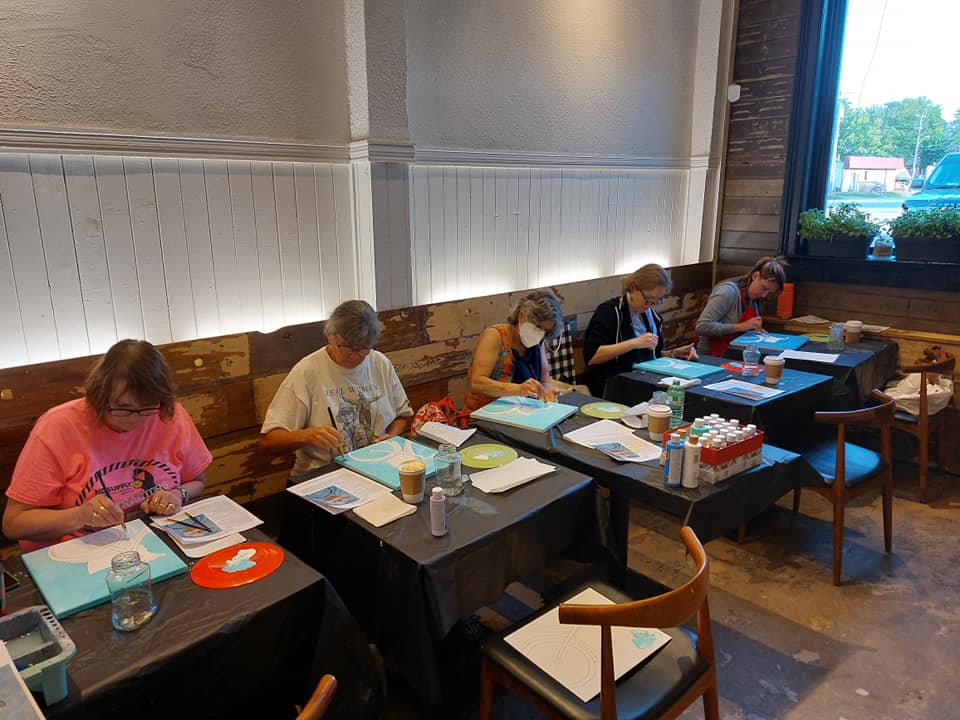
The in-person Paint Party has been a big hit in the area over the past two years, however, a couple of things I realize is that
1: not everyone can get to an evening class
2: people have enjoyed the experience and like to also paint in the comfort of their own home
3: want to gift another with the Joy of Ar
4: want to paint with family or small gathering of friends.
So, part of my learning these last two years has taken my painting to a new level that I am excited to share with you. If you fit in the category above, then my Joyful Art Kits are the perfect solution for you.
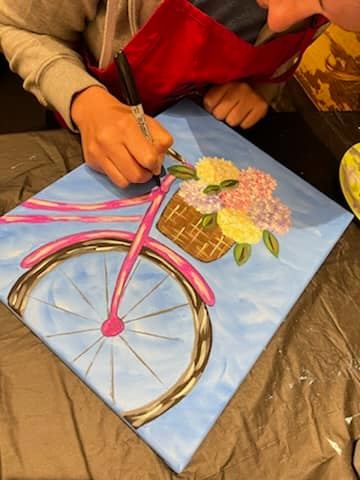
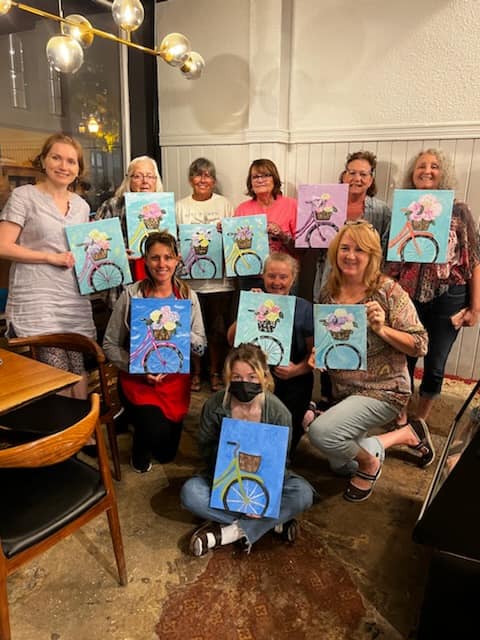
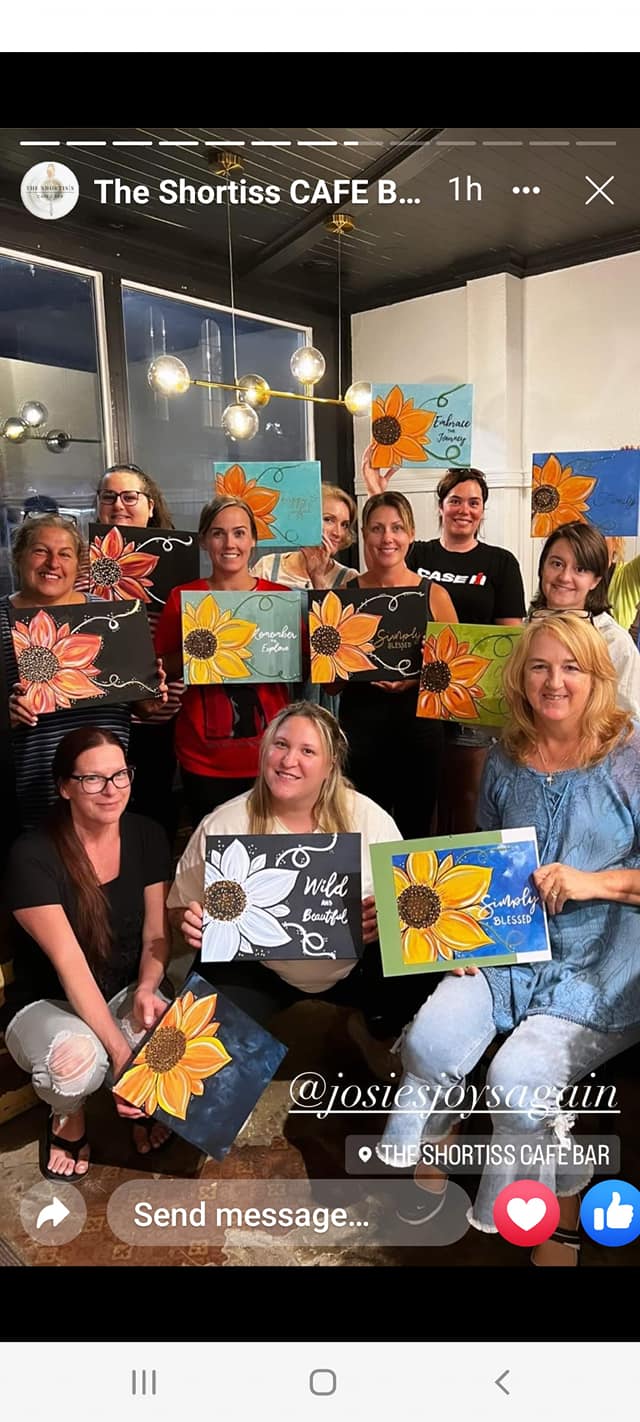
These kits help you escape to another world (which led me to painting when I was looking after my mother) where you have some time for yourself and let your creativity spark. Or purchase in multiples and have a paint party with your mother, a group of friends or a staff party!
The designs are exclusive and come with an easy step by step written instructions with pictures (if you are like me and follow rules) and a video tutorial is also provided. The kit includes brushes, paints, and plate just add a cup with some water to wash out your brushes and you are off to discover your inner Van Gogh!!
If you are interested in purchasing a kit, please
1. email me at [email protected] Subject Line: Art Kits Order or go to Contact Me Page
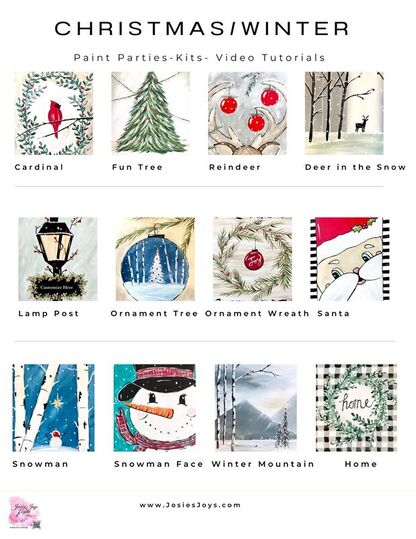
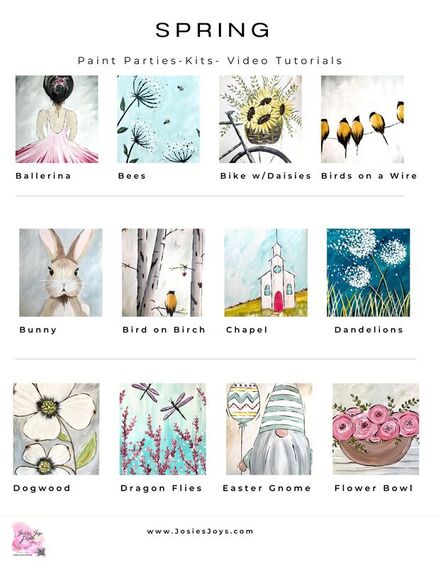
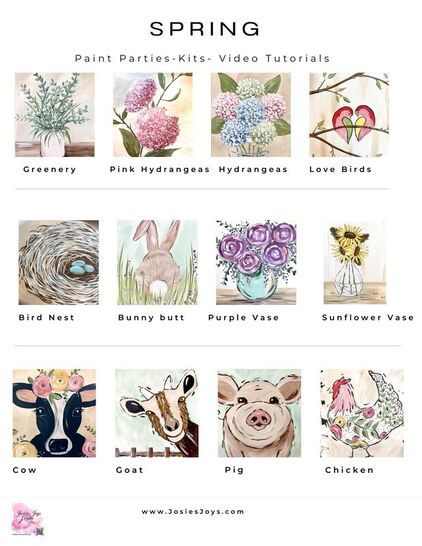
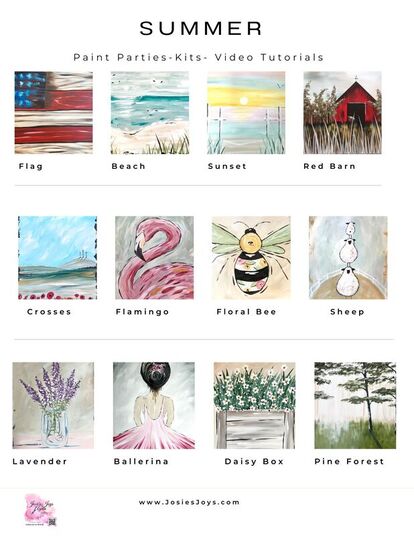
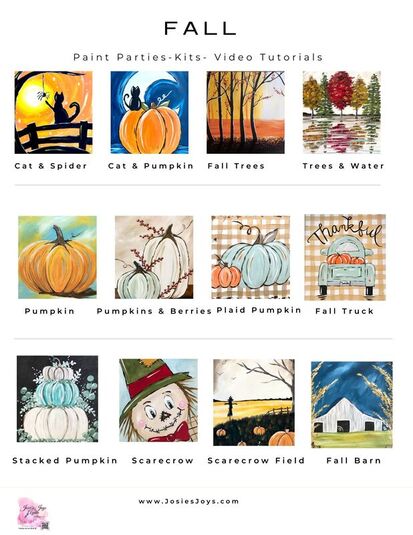
2. Let me know which seasonal category & at the design name. (from the designs below)
3. Indicate which size & quantity of kits you would like to order.
Adult Kits: 11x14 - $25 9x12 - $20
Kids Kits 8x10 - $10 9x12 - $15 (no instructions included)
Taxes included. Shipping & Handling extra
ASK ME ABOUT FUNDRAISERS or LARGE GROUP PRICING.
|
|
|
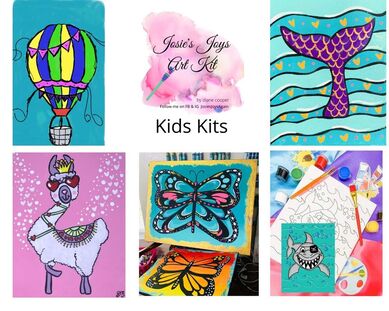
Many kids designs available, just ask and I will see what I have! |
Disclaimer: I have purchased the rights to use these designs for my paint kits & parties. Personal use only, not to be used for business.
